
Everything you need to know to get started with OpenEnvoy.
Welcome to OpenEnvoy! This article includes everything you need to know to get started.
- Set up two-factor authentication
- Invite your teammates
- Audit invoices
- Identify and resolve conflicts
- Mark job as complete
- View your Dashboard
- Manage your account
- Advanced features
1. Set up two-factor authentication
Each registrant is required to set up two-factor authentication, which is used to log in.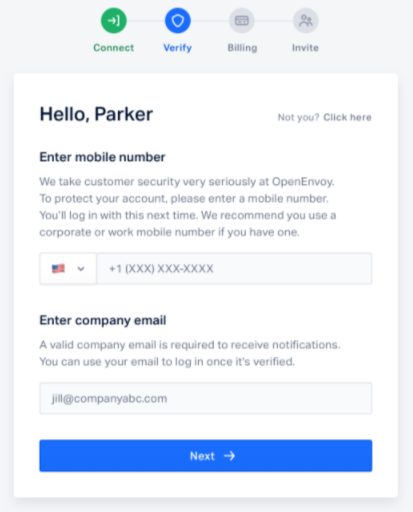
A verification code will be sent via SMS to the mobile number you provided. Input the code on the text field and click Verify.

Next, you are required to pair your device with a password manager, which you will use to log in to your account. Click here to learn how to complete this step, including which password managers we recommend and how to get set up. Once your password manager is set up, scan the QR code with it to pair your account with the password manager. Once complete, enter the code generated by your password manager and click Confirm. Moving forward, you will use the codes generated by your password manager to log in to your OpenEnvoy account.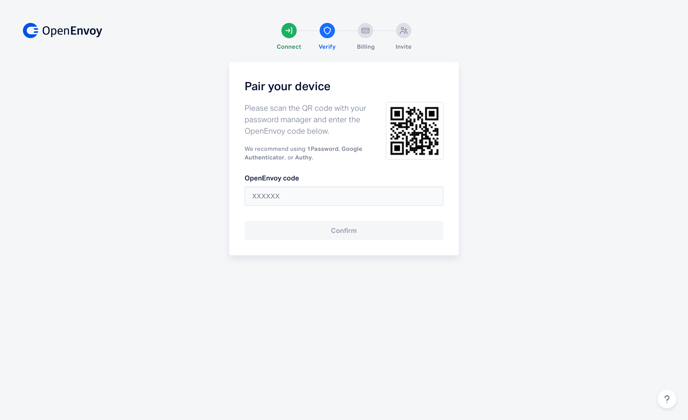
Next, you will be presented with a batch of recovery codes. In the event, you don't have access to your mobile device (e.g., left it at home), you can use a one-time use recovery code to access your account. Save or copy the recovery codes to a safe and secure location that only you can access, then click Next.
You can access your recovery codes and generate new ones from within your OpenEnvoy account. Click here to learn more about recovery codes and how to generate them. 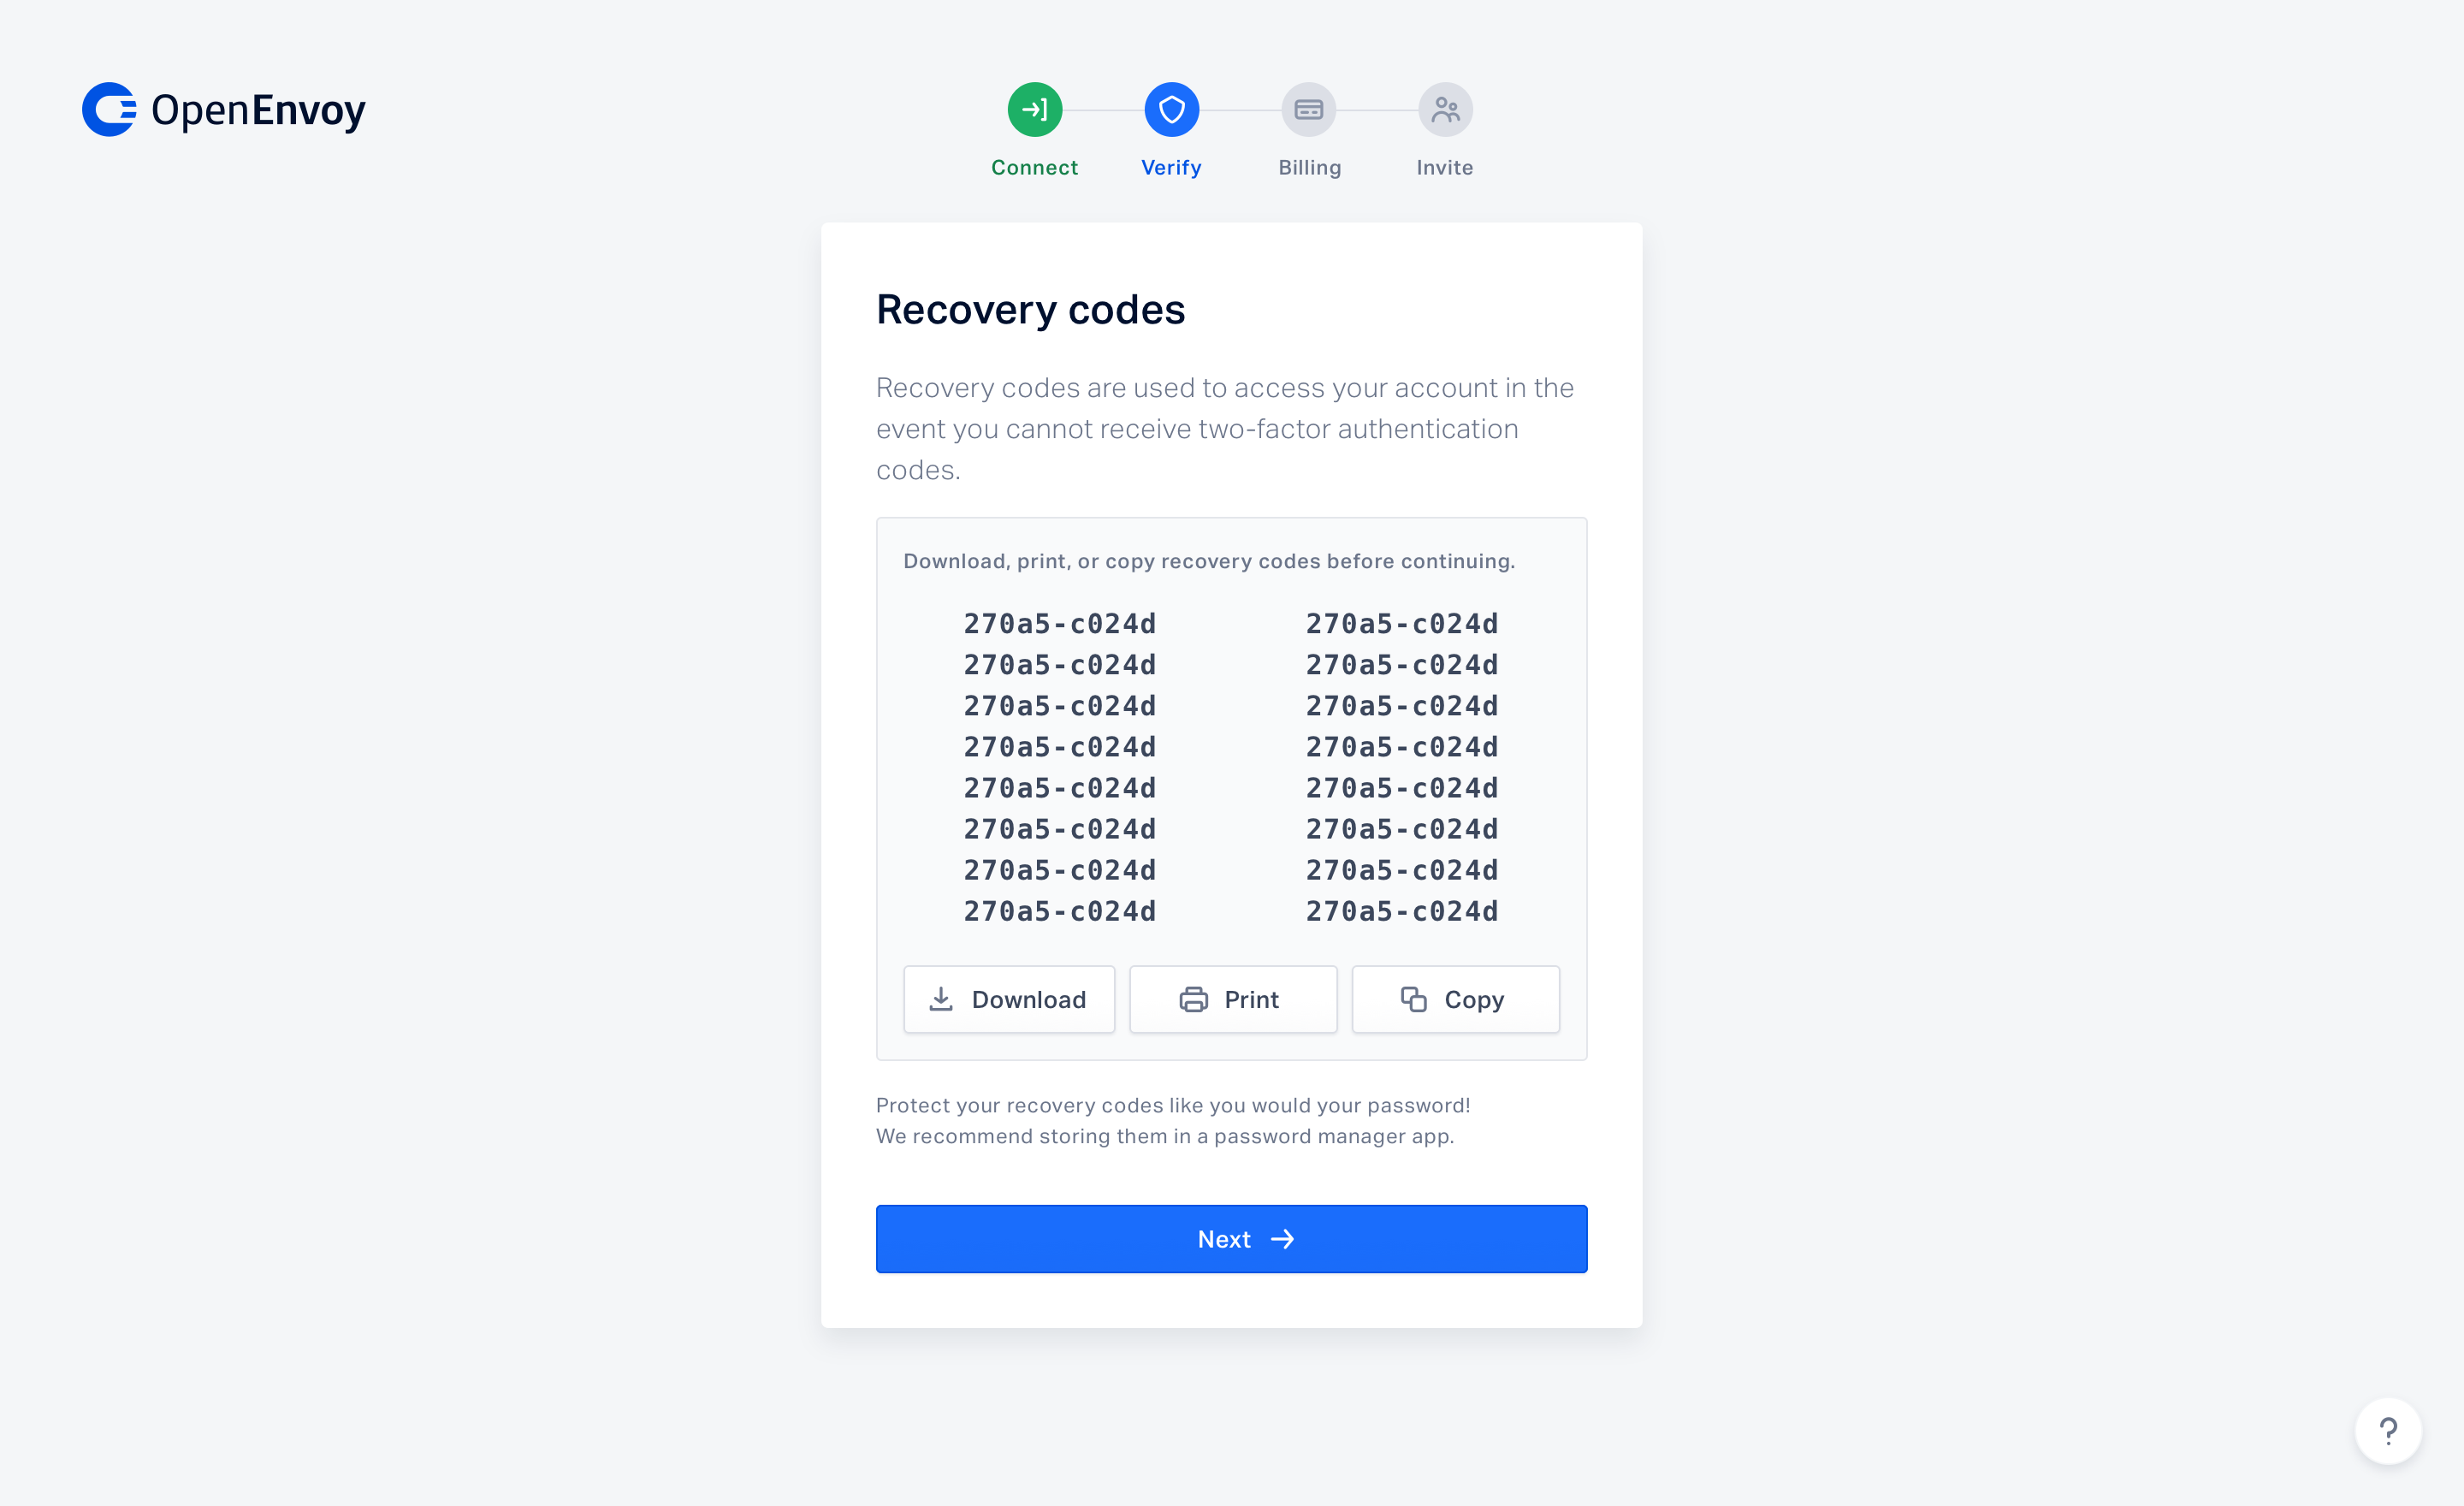
2. Invite your teammates
Learn how to manage OpenEnvoy users: invite teammates and modify roles, access and team assignment.
3. Audit invoices
In order to audit an invoice, you must create a job. The following steps walk you through how to manually create, update, and view a job. To learn how to accomplish this through our advanced features, including bulk upload, email forwarding, and integrations, click here.
- Create a job - After sign up, you will be prompted to create a job. This step is required to audit an invoice and to unlock all of OpenEnvoy's features, including your Spend Insights (Dashboards).
- Update an invoice or baseline document - After a job is created, you may need to update documentation. OpenEnvoy saves a copy and complete version history for every document you upload.
- View a job's status - The Jobs page is where you can view all jobs and their current status.
- Use filters and search to find jobs - There are multiple ways you can find a specific job or group of jobs.
- View a job's details - Become familiar with the features of a job, by learning about the Job Detail components and actions you can take from each job.
4. Identify and resolve conflicts
When a conflict is identified during the matching process a job's status is changed to Conflict. The next step is to review the matching results to determine the next steps. The Results tab on the Job details page will show the conflicts. From here, you can decide to proceed to the Dispute stage or to Mark complete. Click here to learn how to identify and resolve conflicts.
5. Mark jobs as Completed
Once a conflict has been identified, there are multiple options for marking a job as completed. For example, initiating a dispute allows you to indicate how much you recovered and mark the job as approved, or you can skip the dispute process and Mark complete. Whichever path you choose, we recommend writing detailed notes to inform your team or future auditors why you took the step you did and the outcome. Click here to learn how to mark a job as complete.
6. View your Dashboard
By default, the first page you see when you log in is the Dashboard. Here you will find useful insights including, the number and amount of invoices processed, invoice accuracy, recovered amounts, and more. Click here to learn about Spend Insights.
7. Manage your account
Here's a list of helpful resources for managing your account.
- Add and remove users and assign permissions - If you're an account admin you can easily add and remove users to your account and assign permissions.
- Reset and change your password - If you have forgotten your password, you can click the forgot my password on the login page and a link will be sent to your email to reset your password. You can also change your password from your user profile. You need to input your current password to change it to a new one.
- Two-factor authentication - Two-factor authentication is required to register and log in and provides an added layer of security. Pair your device with a QR code and enter the OpenEnvoy code. In the event you’re unable to access your password authenticator, you can use a recovery code to log in.
- Recovery codes - These are one-time use passcodes you can use in the event you're unable to access your password manager. You can view, download, and generate new recovery codes within your OpenEnvoy account. Generating new recovery codes will deactivate your old ones.
8. Advanced features
- Email forwarding - This feature enables you to forward emails from your suppliers that contain invoices and baseline documents. Please contact your customer success manager for instructions on how to get started.
- Bulk Uploads - Bulk uploads can be enabled for your account to audit past invoices rather than uploading them manually. Please contact your customer success manager for instructions on how to get started.
- Integrations - We support integrations with most major ERP and TMS systems. If you'd like more information about how to add integrations to your subscription, contact customer support.
Questions? Concerns? Can’t find what you’re looking for? Please contact customer support.